How to Build Your First Pedalboard
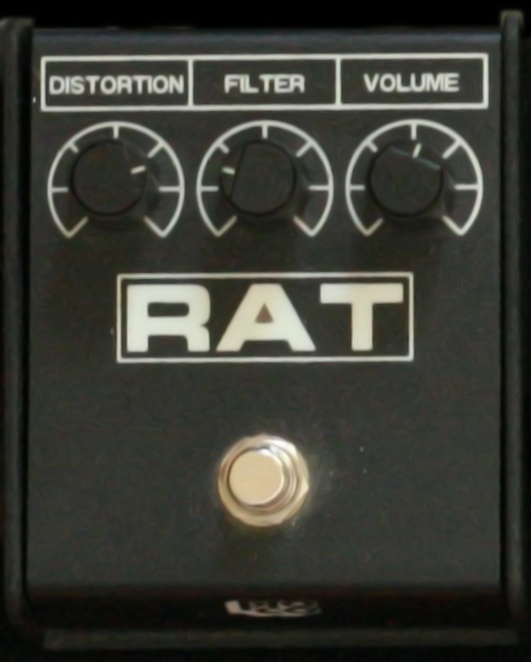
Building your first pedalboard is one of the most fun rabbit holes in guitar — and one of the easiest to get wrong. Here’s how to do it properly the first time, so you spend your evenings playing instead of troubleshooting hum.
Start with signal chain order
Pedals generally sound best in a sensible order. A widely-used starting point is: tuner first, then dynamics and filters (compressor, wah), then gain (overdrive, distortion, fuzz), then modulation (chorus, phaser), and finally time-based effects (delay, reverb) at the end. It’s not law — but it’s a reliable place to begin. If you’re still choosing your dirt pedals, our overdrive and distortion guide is the place to start.
Sort out power early
The single biggest cause of a noisy board is bad power. Skip the daisy-chain and budget for an isolated power supply with enough outputs for your pedals plus a couple spare. Isolated outputs stop the digital pedals from injecting noise into the analogue ones — it’s the upgrade nobody regrets.
Don’t cheap out on patch cables
Short, good-quality patch cables save an astonishing amount of grief. Cheap ones fail, and a single intermittent cable will have you pulling your hair out. Buy decent ones, and a few spares.
Leave room to grow
Whatever board size you’re eyeing, the next one up is usually the right call — every player’s board grows. And resist the urge to fill it immediately. A great-sounding three-pedal board beats a noisy ten-pedal one every time.
Tune up and play
Once it’s wired, set everything to unity volume (so switching pedals on doesn’t jump the level), tune up, and play. If you hear hum, switch pedals off one at a time to find the culprit — it’s almost always power or a cable.
Common questions
- What order should pedals go on a pedalboard?
- A common order is tuner, compressor/wah, drive pedals, modulation, then delay and reverb last. It’s a guideline, not a rule — experimenting is part of the fun.
- Do I need an isolated power supply?
- It’s the best upgrade for a quiet board. Daisy-chains work for a couple of simple pedals, but isolated supplies prevent the noise and interference that plague bigger boards.
I'm Martin, and I have a problem (it's pedals). I play ambient and post-rock — big washes of reverb, delays into delays, the kind of pedalboard that needs its own roadie — so effects are where I live. I love going down the rabbit hole on a circuit: what's the buffer doing, how does it stack, what happens at the extremes of the knobs nobody dares turn? My reviews tend to wander, because that's how you actually find the magic in a box. I'll always show you the weird, useful corners.
Ambient/post-rock guitarist and lifelong pedal collector
More from Martin
 Why string height at the pickup wrecks your pedal chainPickup height isn't just a tone knob under the hood. It changes output, dynamics and how your whole pedalboard reacts, especially fuzz and compression.
 Why pickup choice changes how your pedals behavePickup output and impedance shape how overdrive, fuzz and reverb pedals respond, often more than the pedal's own knobs.
- Why your picking hand decides whether your pedalboard sounds goodYour pedals react to how you pick, not just how you set the knobs. Here's how picking dynamics shape fuzz, delay and reverb response.
 Running an acoustic into ambient pedals without it falling apartWhy ambient pedal chains that sound gorgeous on electric often turn an acoustic-electric to mush, and the signal-chain fixes that actually work.
- Tap tempo technique: getting your delay actually in timeTap tempo looks simple until you're doing it live. Here's how to actually land your delay in time, from foot placement to subdivision traps.
- Preamp pedals on an acoustic-electric: when they help and when they don't